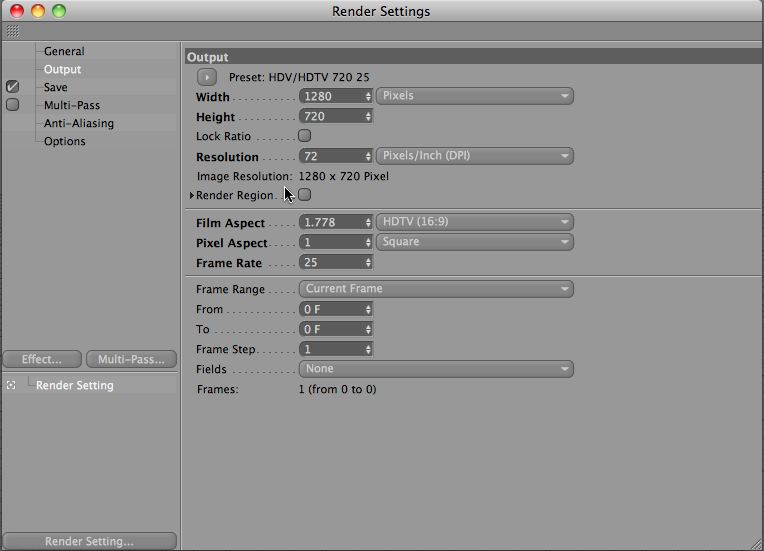
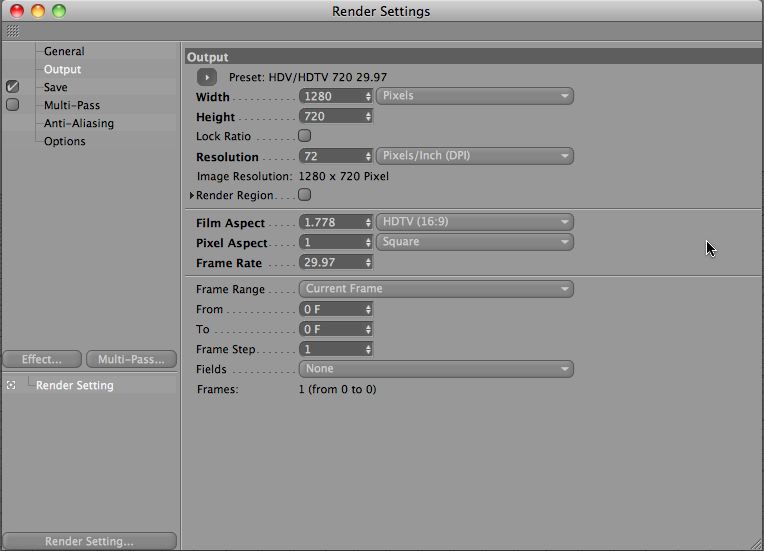
There are a lot of HD Render settings available and it depends on your output device, how much hard drive space you have and where you plan to show your movie. I like the 1280X720 resolution with square pixels. I like it because it’s reasonably high quality and translates well on the web. I also have started rendering still images at a high-quality .jpg setting for longer movies because I don’t have the space to render at HD with uncompressed files, which would be better.
Once you have your still image sequence, you can import it directly into After Effects. If you plan to do a lot of editing, performance becomes an issue and you have to weigh the costs/benefits of each of the following scenarios.
1. Compile your sequence into a movie – Apple Pro Res 422 is really the best for editing in HD. It’s uncompressed, so the footage is huge, but you can view the movie in real-time in Final Cut Pro.
2. Keep your images in a sequence and see how it works for you.
3. Make a lower resolution proxy version of your images and do the editing that way, replacing with high-resolution for the final render.
For my movies, I tend to stick with #2 as they are short and it seems to work fine for me. If I was doing a lot of layering, and longer movies I might consider #1 or #3. There may well be other workflows, but these are the options that I use most.
In Cinema, these are the two HD settings that I typically use:


