Now that we have a basic Canvas working through WordPress, let’s create something more useful. We’re going to use a javascript library to add some animations. I chose D3.js because I’m interested in data visualization and it has a lot of helper functions to make working with data easier. I could have used jQuery, Processing.js or any other library to help with animations. There is an extremely well written and useful introduction tutorial site written by Scott Murray, and he has a print and online book as well.
Another major reason for choosing D3S (beyond the amazing examples) is that it uses SVG instead of the Canvas element. The Canvas element cannot be inspected in Chrome’s inspector, which makes it hard to see what’s going on. Also, all of the elements generated by this script can be styled using CSS, including all of the SVG attributes. Pretty handy and standards compliant, IMHO.
I did all my testing in jsFiddle.
Step One
Open this http://jsfiddle.net/bryanleister/Fccja/ in your browser and make sure it works. Inspect Elements in Chrome and look at the console for error messages. Make a few changes to the script and ‘Fork it’ if you like. I went ahead and logged into Fiddle with an account so that my work is easily saved in their super cool Dashboard system (how is this stuff free?!!).
Step Two
Copy your WordPress plug-in from the PHP Intro tutorial to a safe place. We’re going to keep extending that plug-in’s functionality with this script. We’ll probably break it, so we want a working copy safe on your hard drive to reinstall if needed.
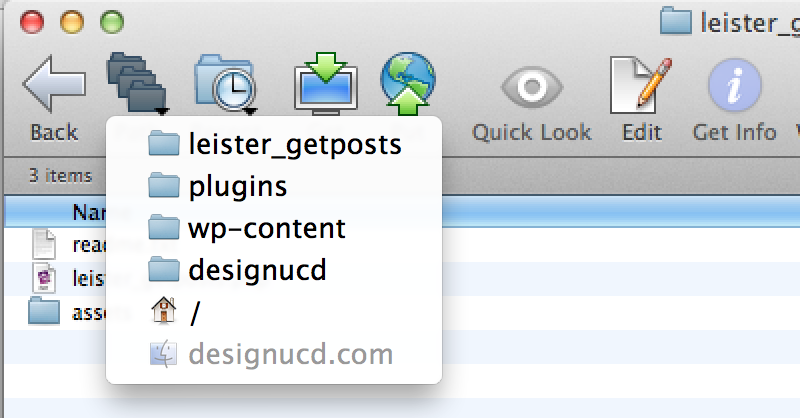
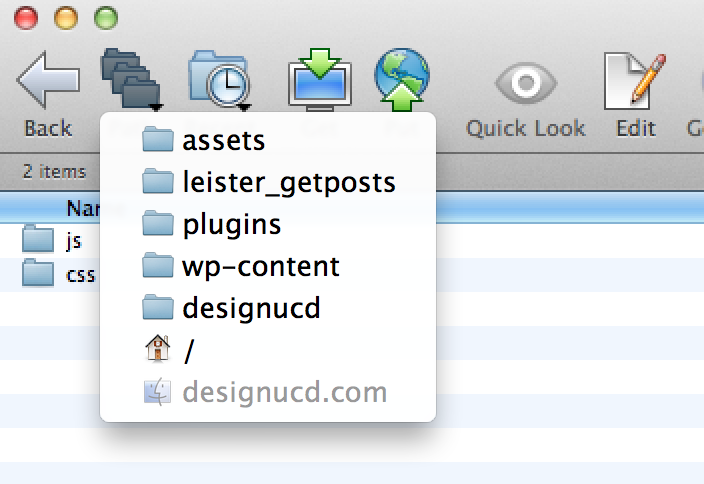
Copy and paste the javascript portion of the Fiddle script to a new file and call it 'yourname_dotArray.js' (without the quotes). Place this script into a new ‘js’ folder in your plugins directory. Download and copy the DS3 library to this same folder.
Step Three
Edit your plugins .php file and correctly import the DS3.js library and your 'yourname_dotArray.js' (without the quotes) as we did in HTML 5 Intro. Get the script working as is on your own website. At this point, this should be mostly a copy/paste operation. While your doing this, go ahead and link to a style.css in your plugins css folder (create one if it doesn’t exist).
Note: I’ve made quite a few changes from our original plug-in, so alter as needed to match. If it doesn’t work, use the Chrome Inspector > Resources to make sure all the scripts are loading.


Step Four
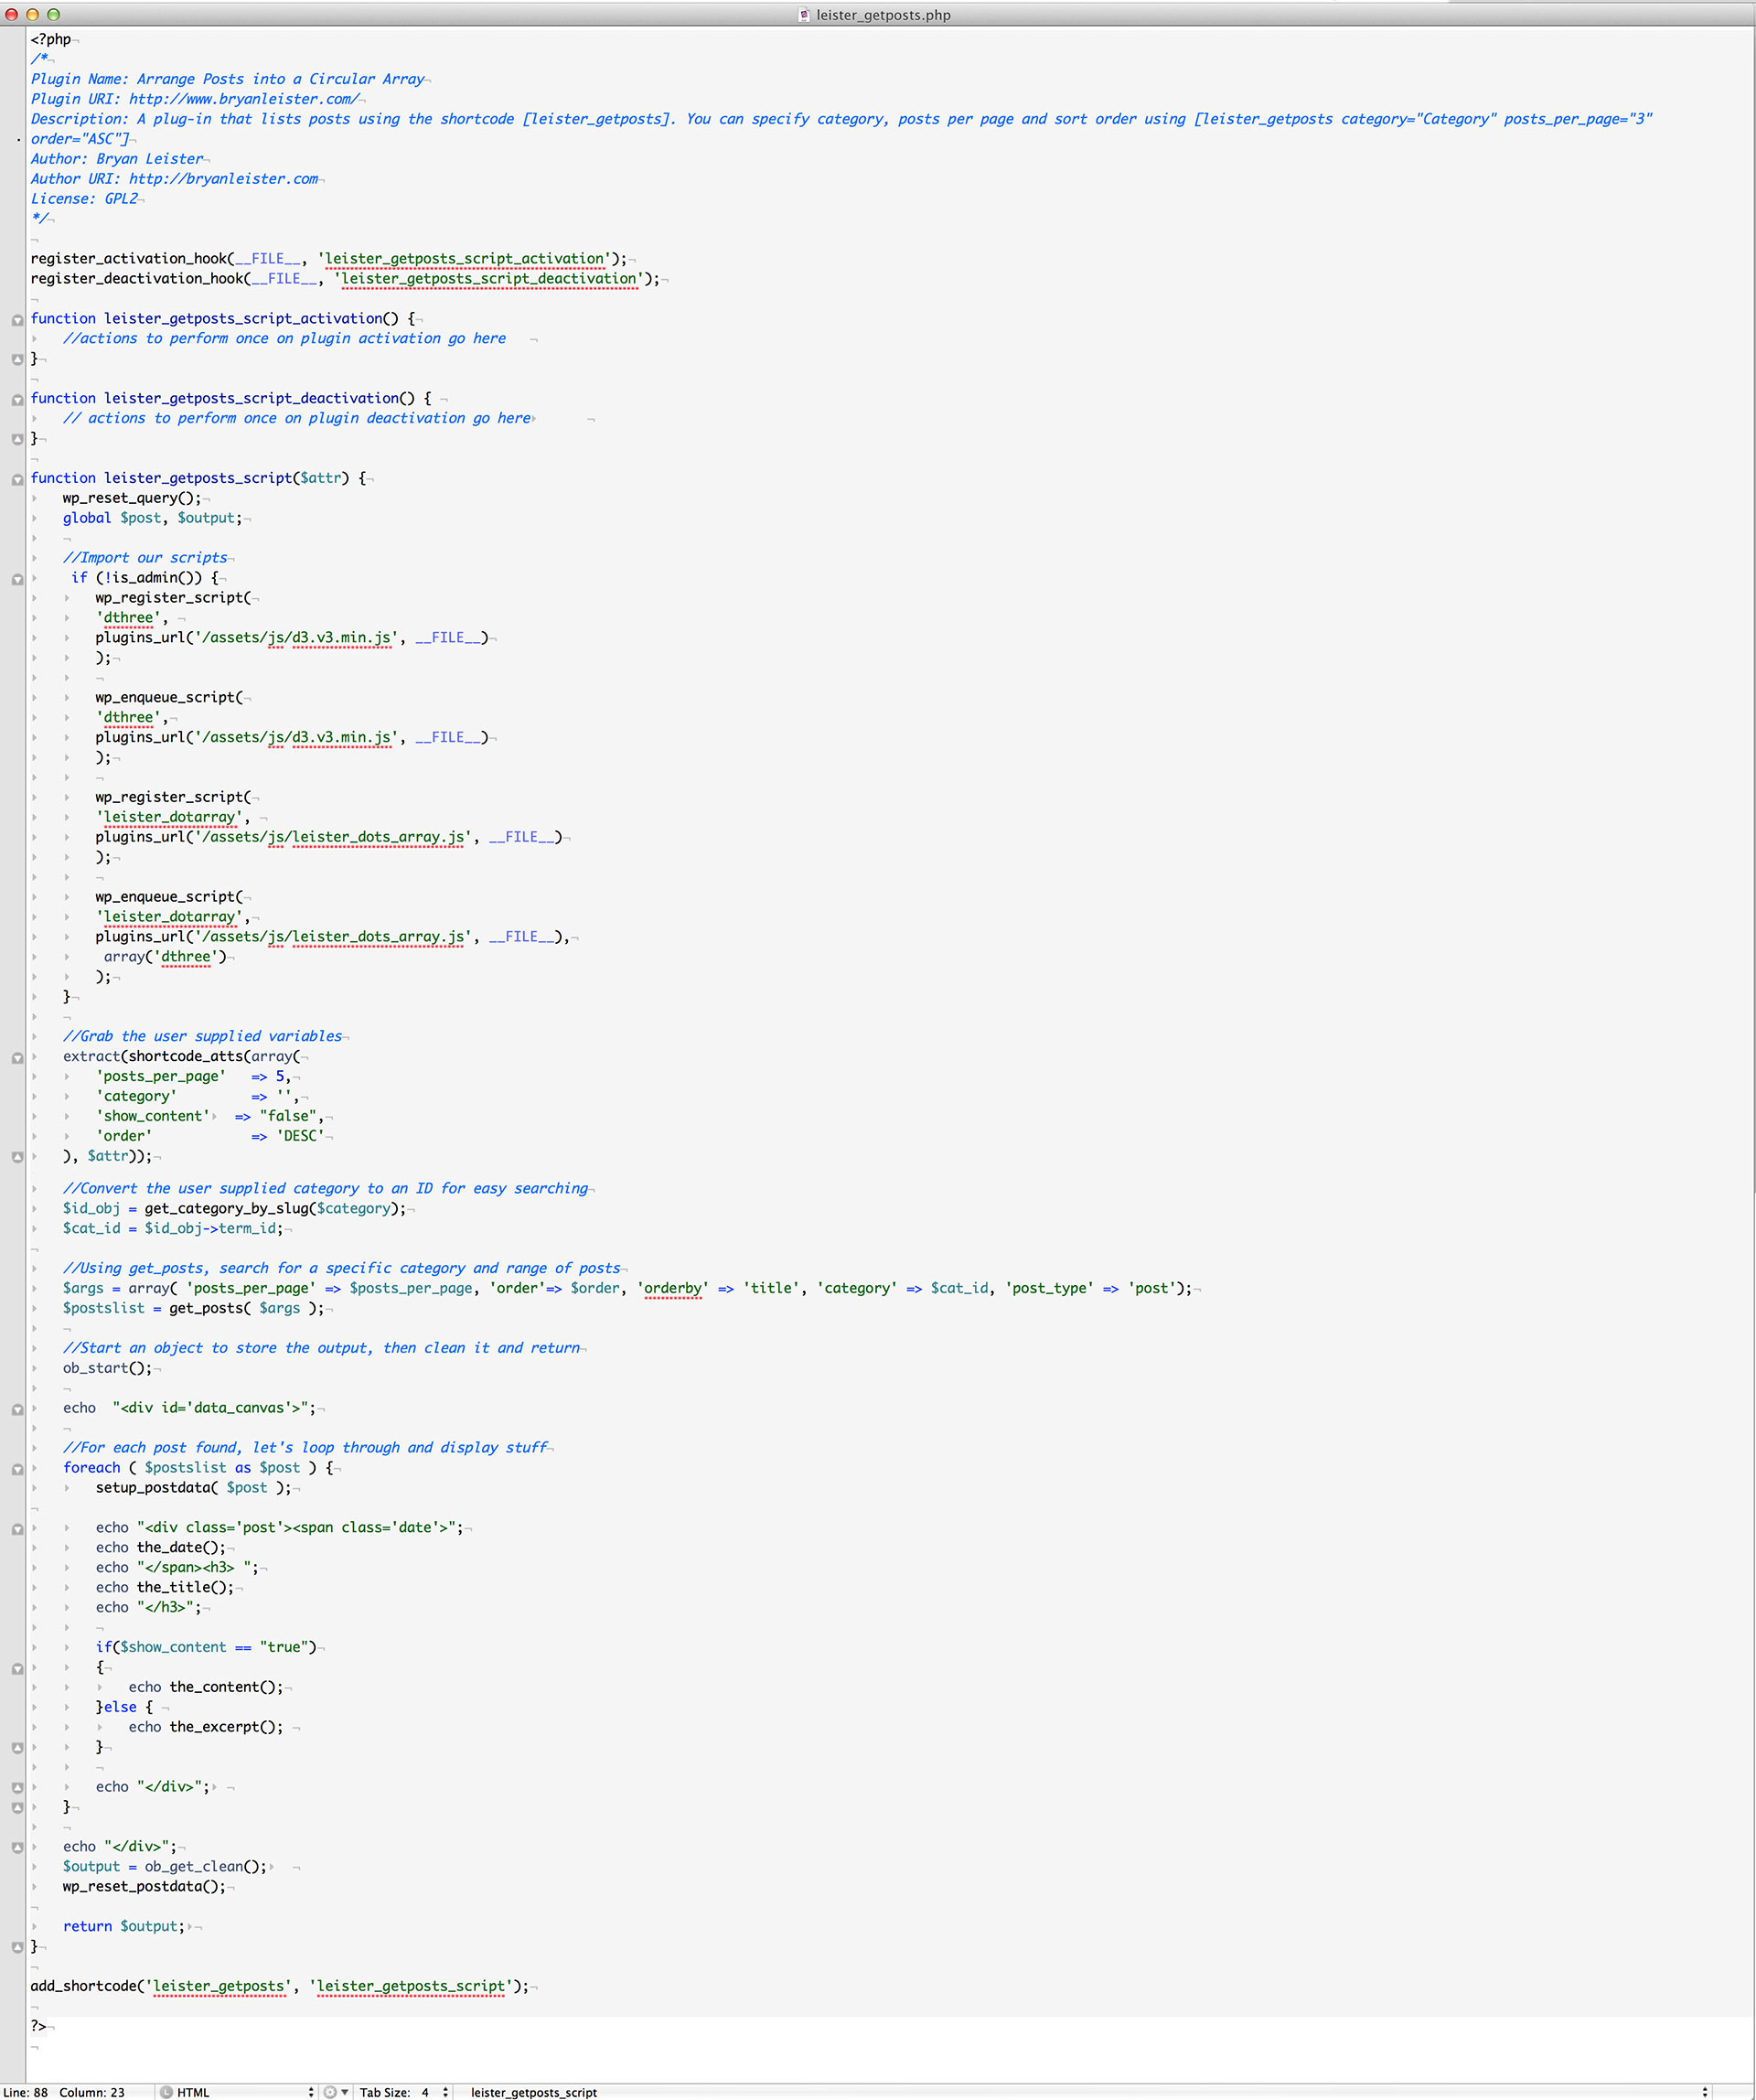
Once the code is working, the last step is to replace the static variables with dynamic ones and clean up the code. I left the $post code in place from the PHP Intro, since that kind of information is what we now want to use to populate our HTML 5 elements in Step 3, so we’ll get rid of it. The basic process will be:
- Figure out how to pass variables from PHP to javascript
- Get a count for the number of pages or posts we will display
- Use that count to construct the .svg circles
- Get the titles to display as labels for the circles
- Write some shortcode attributes to allow us to pass in more variables (like categories, or sizes) to the get_posts query
You can look at the documentation for get_posts to see all of the arguments I could have used. For simplicity, I just chose a couple to implement, like ‘posts_per_page’ and ‘categories’. You can add any other arguments by following that example.
To pass my WordPress data from the query, I am using wp_localize_script to rewrite our javascript and pass our post array to the script. Localize is meant for adjusting to code to different language types (for example English to French). WordPress will take the script in, and rewrite it to the language needed before loading it into the DOM. It turns out to be a very elegant way to pass arrays of WordPress data, as it rewrites our javascript to include things we’ve done in PHP.
As you can see, the PHP code actually gets much smaller. I simply do a search for posts in PHP, and pass the entire array to our javascript, giving it the variable name ‘wp_param’. Comment out the lines in the PHP echo $postslist[0]->post_title, "<br>"; print_r($postslist[0]) ; to view those items in Chromes Inspector > Console. Unfold the arrows next to the Object to see the contents.

Now, we need to rewrite the javascript we are using to use the parameters. It is really helpful to view the Console to see what variables you have access to. I left that code active for now in the javascript:
//Print to the Console (Chrome>Inspect Element -> Console)

//In Chrome, unfold the Objects and see the data that is coming

//into the script

console.log(wp_param[0]['post_title']);

console.log(wp_param);
You can just compare the screenshot with the code you copied and pasted from the jsFiddle to figure out what I’ve changed. Below is the plugin functioning with the shortcode [leister_getposts posts_per_page=”30″]
[leister_getposts posts_per_page=”30″]
This is the leister_dots_array.js code that drives the animation above:

To Do List
Things that might be nice to improve this (on your own) would be:
- Truncate the Titles to a certain character limit (javascript)
- Orient the text object to point towards the center of the circle (HTML5,javascript, CSS)
- Group the posts by tag and then use D3 to connect the grouped elements with lines (d3, javascript)
- Add the ability to view Posts or Pages by creating a new argument to pass via Shortcode (PHP/Wordpress/ get_posts function
- Group Pages by parent, and connect them (d3, javascript)
- Create additional arrangements like Linear, Cluster (d3, javascript)
These kinds of connections with lines are well suited to SVG elements, especially when we’ve already created our arrays from code. Here are some examples from d3.com
- NY Times Visualization showing transitions from one display to another (like we just did)
- circular array
- hierarchical edge binding
- hive plot
- Koalas
- Forced based layout
All of the above should be doable with the principles covered here. The workflow would be just as we did here:
- get the scripts running on jsFiddle
- transfer the scripts to WordPress and get it running as is
- design your WP query in PHP and pass the parameters to your script using wp_localize
- update your javascript to use the parameters passed to it
- Enjoy!
